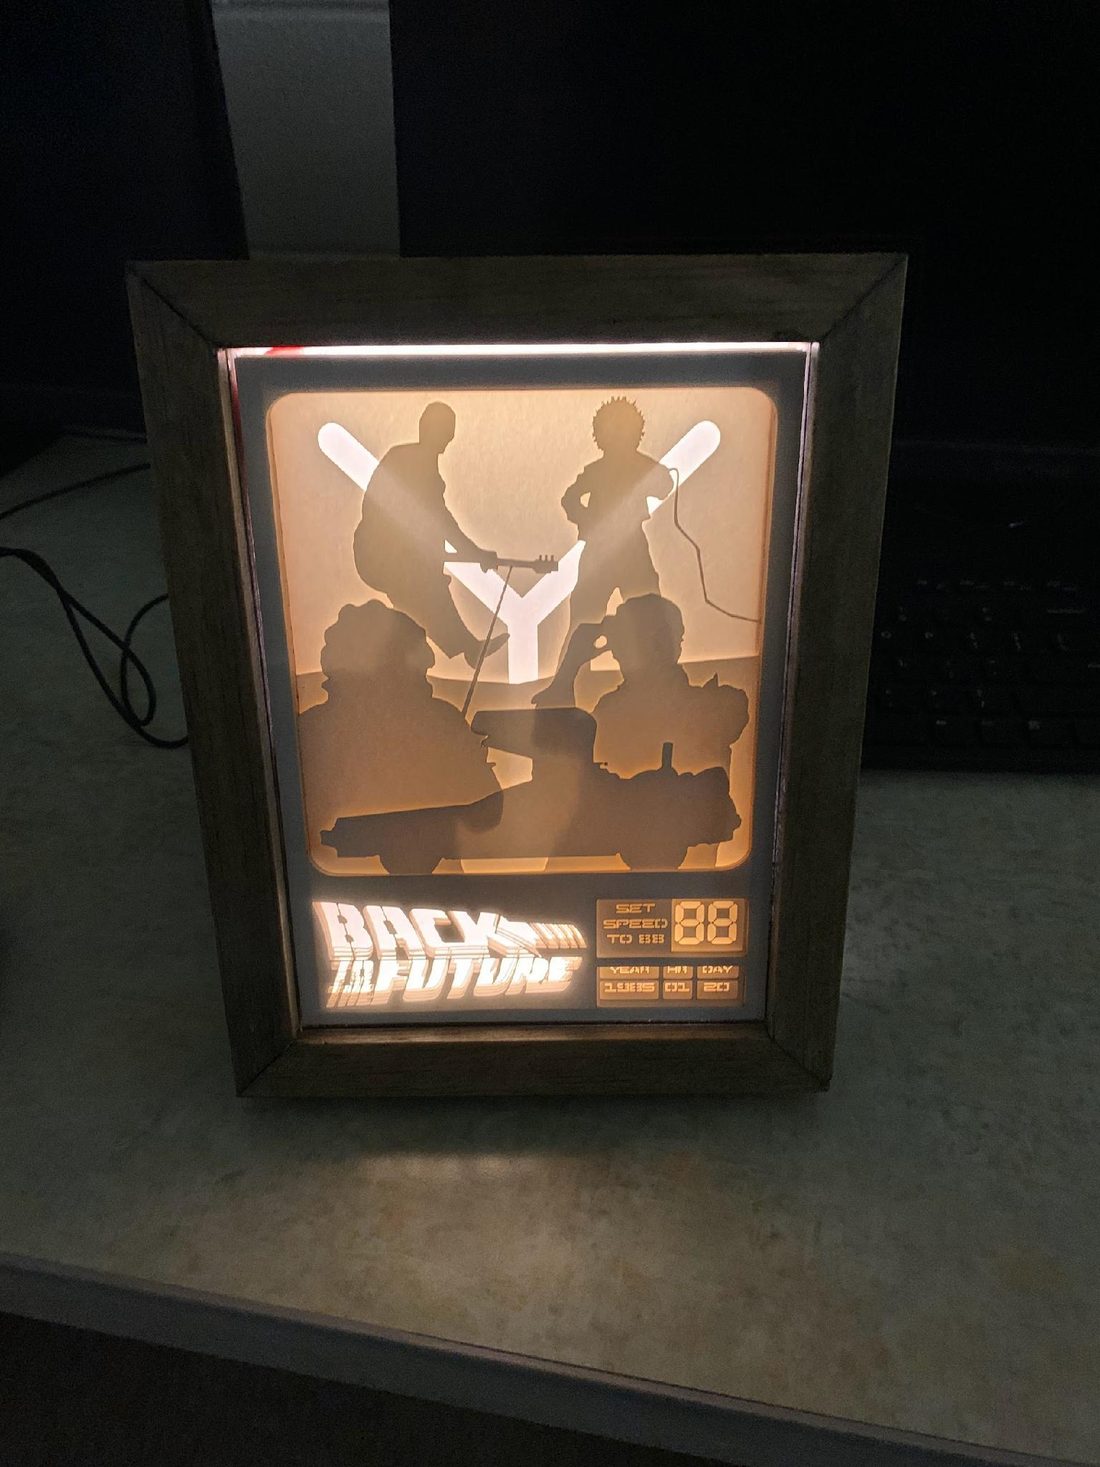
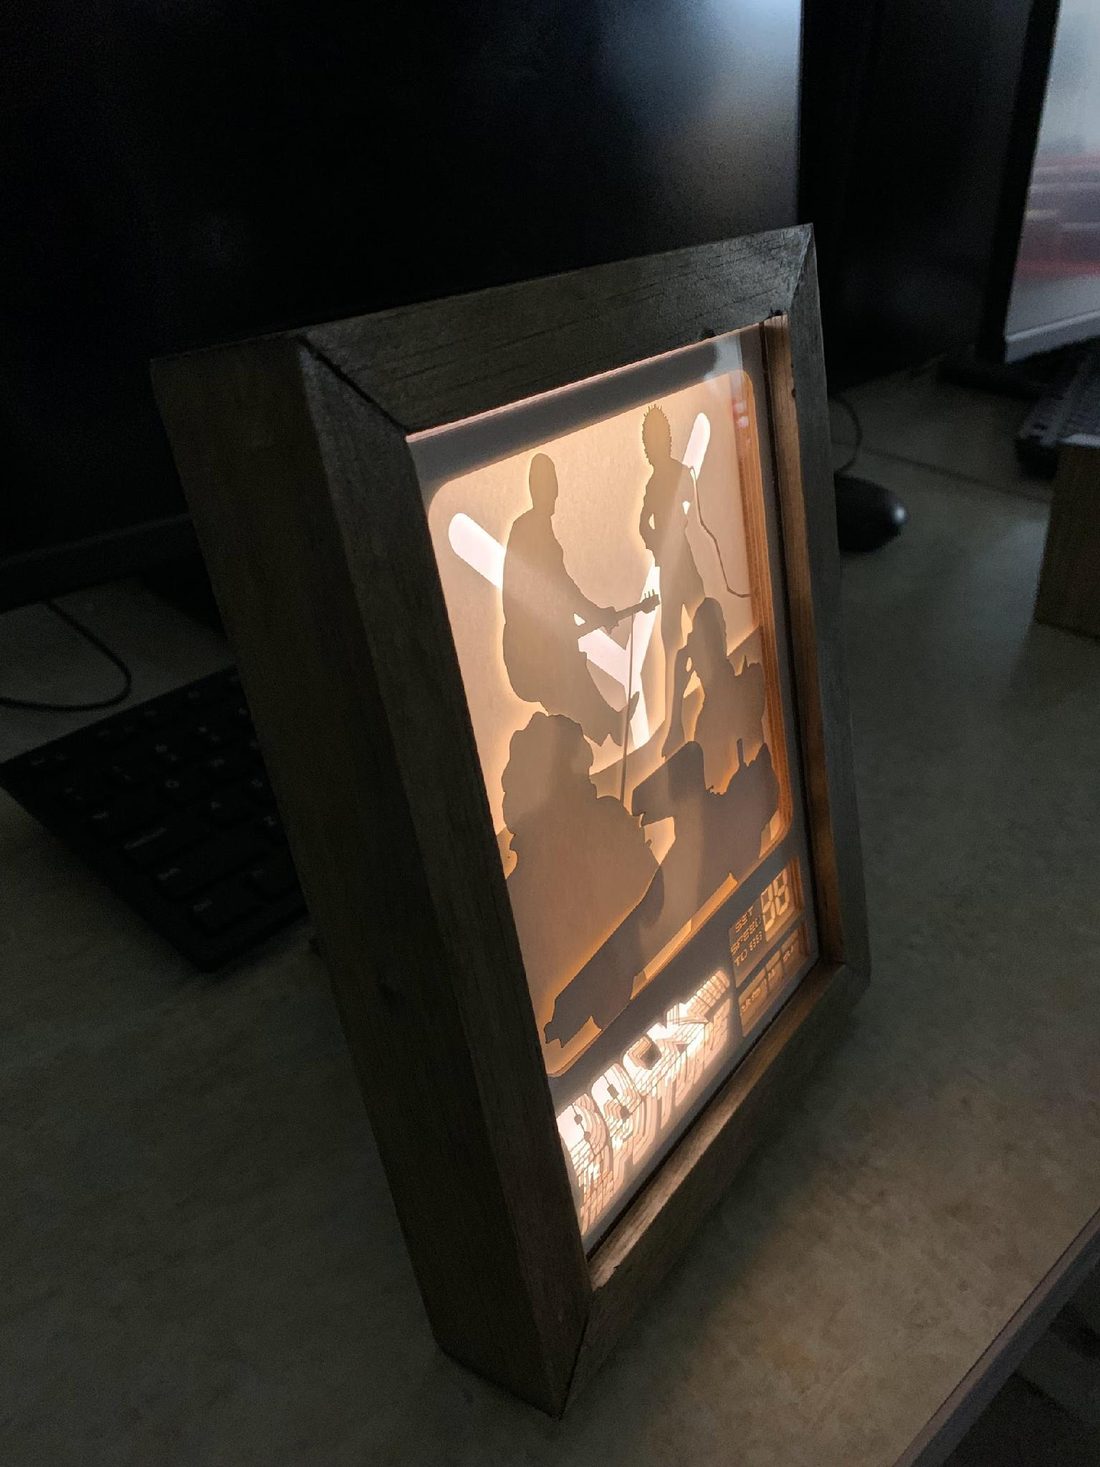
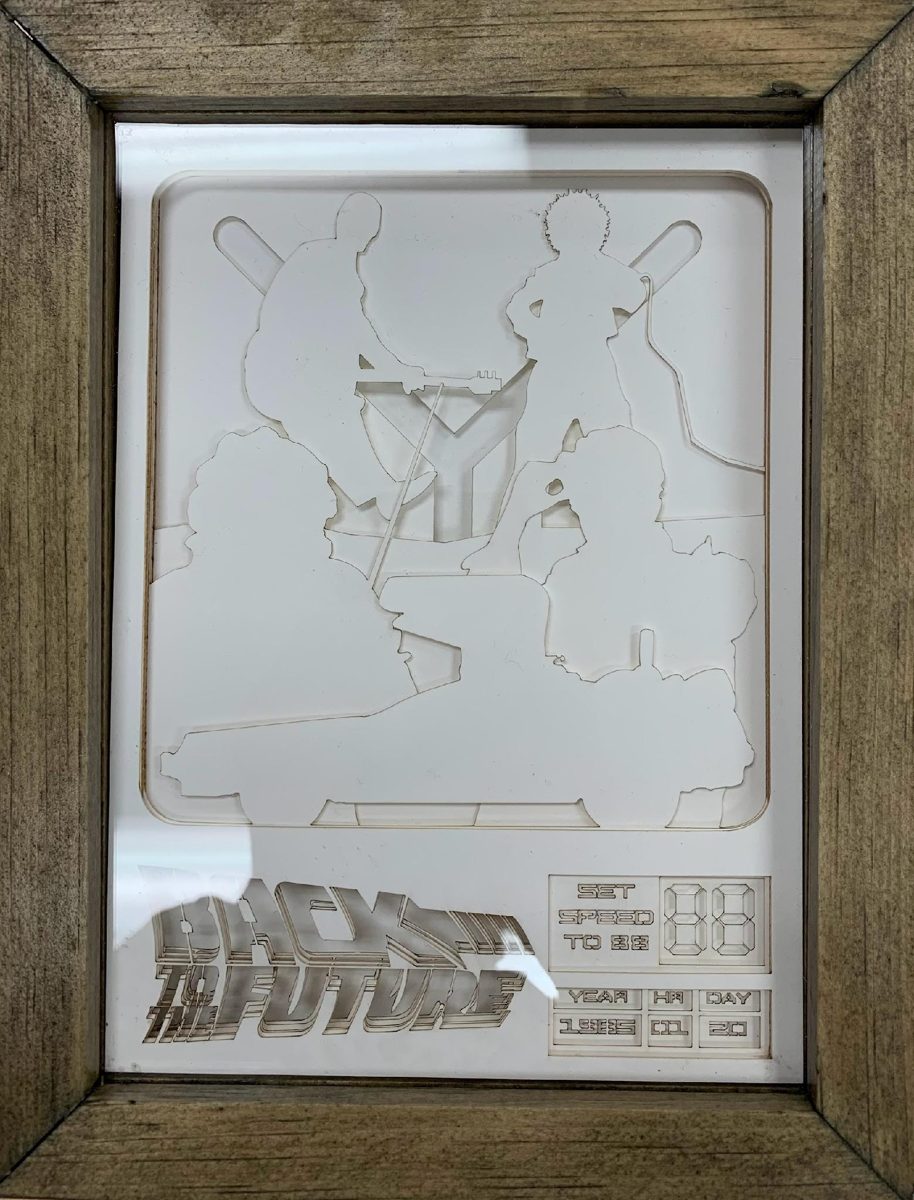
A layered, laser-cut Back to the Future light box designed in Adobe Illustrator, with a mitred pine frame, a trapezoidal stand with an internal 9 V battery cavity, and a soldered warm-white LED circuit.
- Stacked layers
- 6
- LEDs soldered to a 9 V battery
- 11
- Frame interior
- 7.5 × 5.5 in
Problem
- Design and build a layered paper cut light box that tells a story from a film.
- Meet the assignment limits. The acrylic is at most 5¾ × 7¾ in., the frame and stand are pine, and the LEDs are soldered to a 9 V battery.
Approach
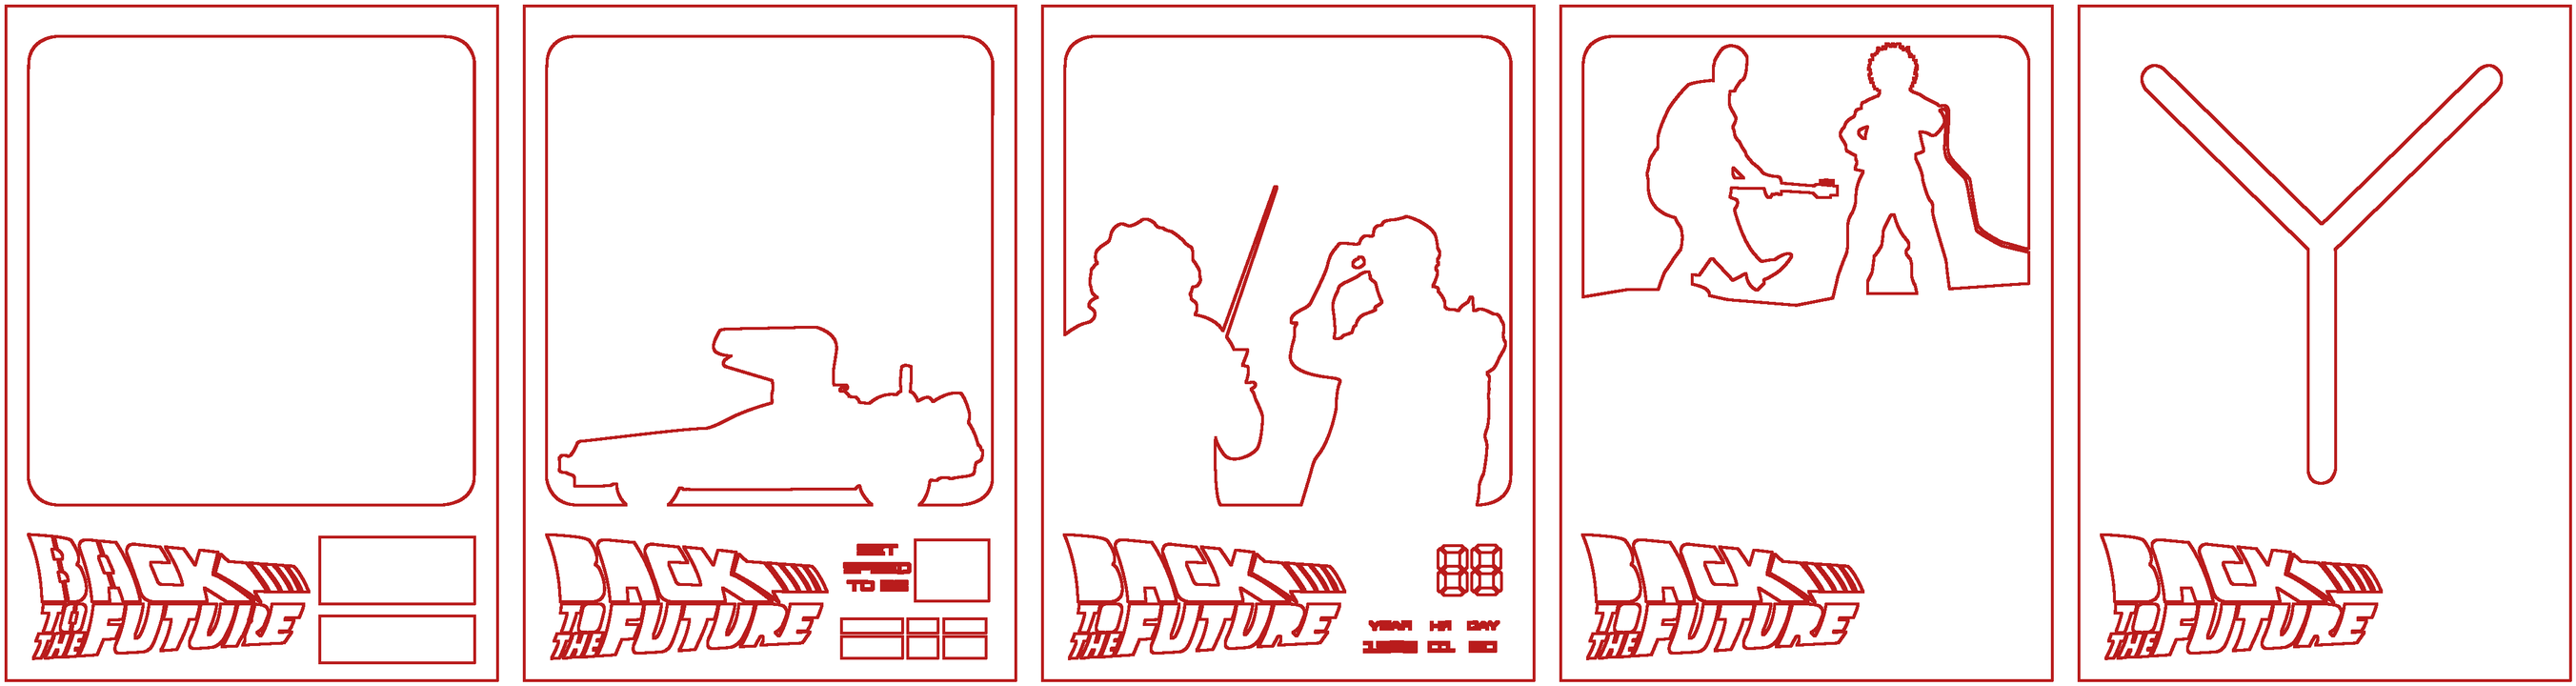
- Divided the first Back to the Future film into five layers, sketched them, and drew them in Adobe Illustrator for the laser cutter.
- Built a mitred pine frame and a trapezoidal stand with an internal battery cavity.
- Soldered warm-white LED strips and documented the circuit in AutoCAD.
Result
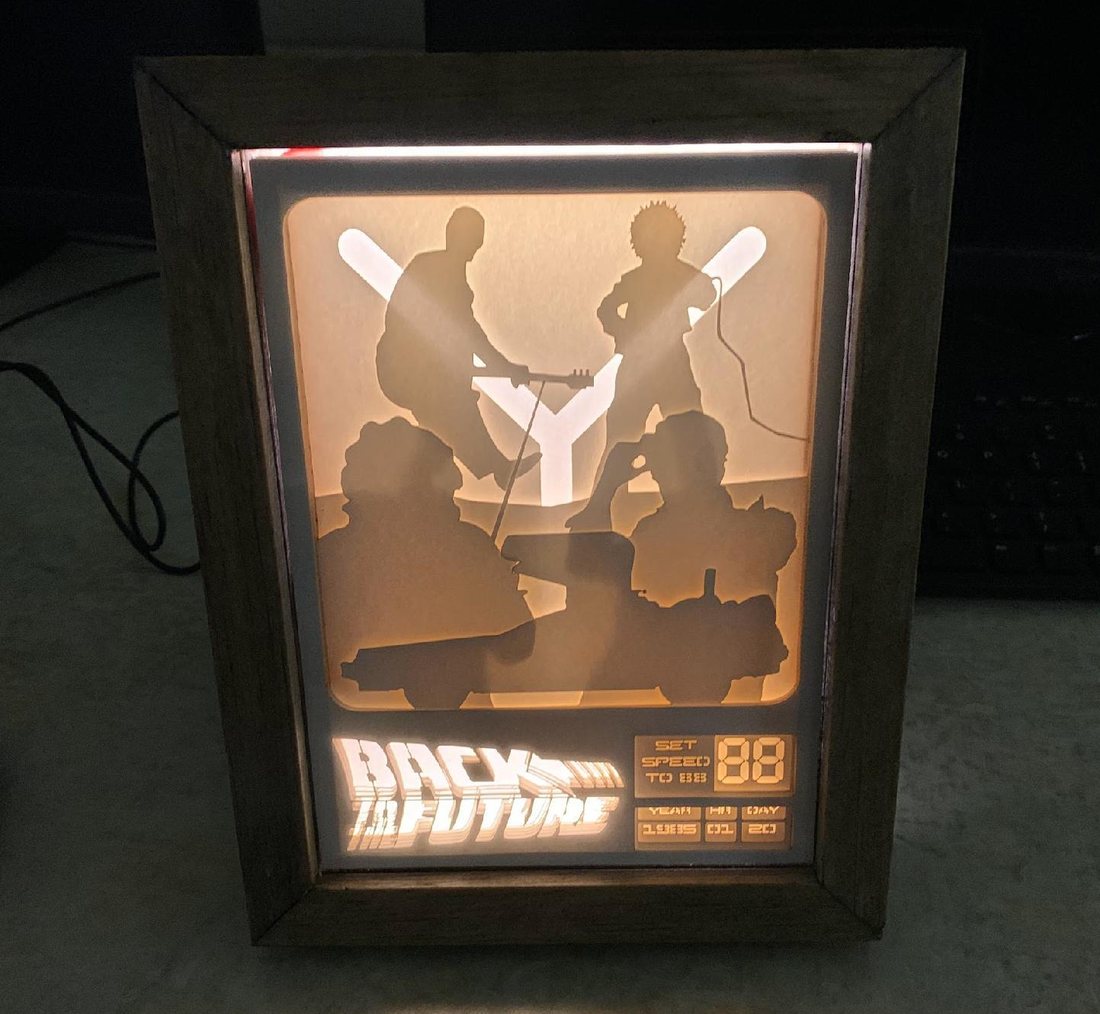
- A working, lit light box with five story layers and one masking layer, built within the size limits.
- The exposed-LED problem was identified before assembly and resolved with a masking layer.
Overview
This light box was designed and built for the Technological Design course at Bur Oak Secondary School. It depicts Back to the Future and was built to the assignment limits: acrylic of at most 5¾ × 7¾ in., a pine frame and stand, designs drawn in Illustrator or AutoCAD, and LEDs soldered to a 9 V battery.
Design
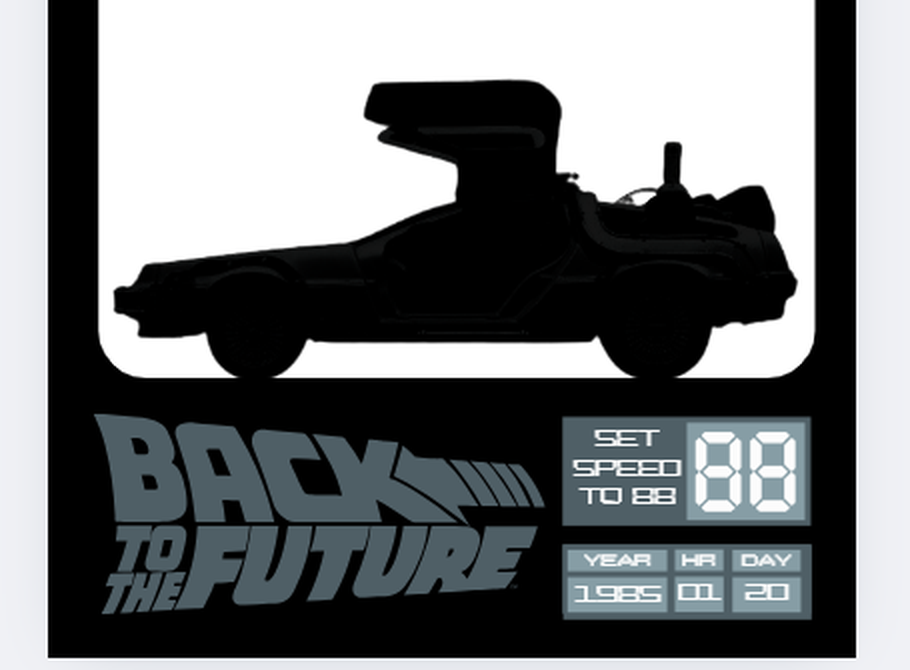
The first film is told in five layers: the logo, the DeLorean with its speedometer, Doc Brown and Marty McFly, the Enchantment Under the Sea dance, and the flux capacitor. Each layer was sketched, then drawn in Illustrator on a 7.5 × 5.5 in. artboard with 0.001 pt red cut lines for the laser cutter. The logo and speedometer block was laid out in Canva.
Construction
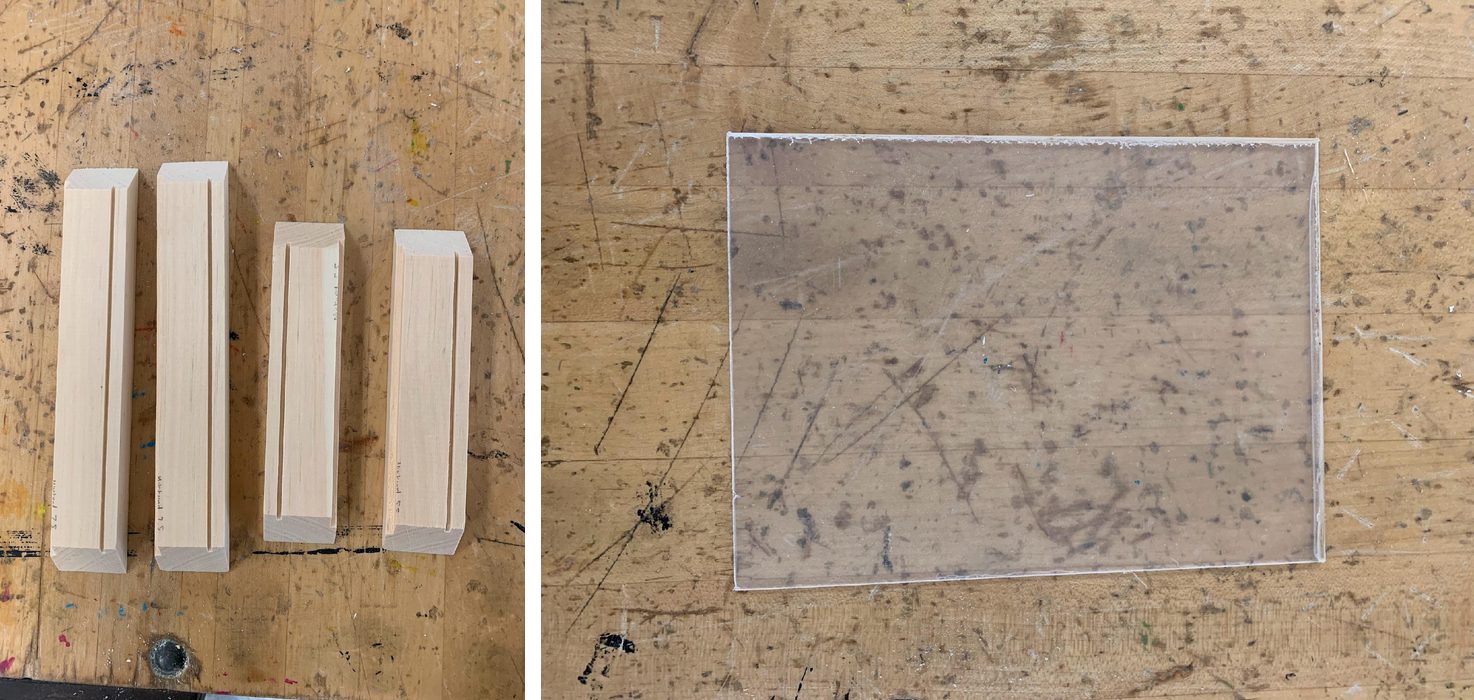
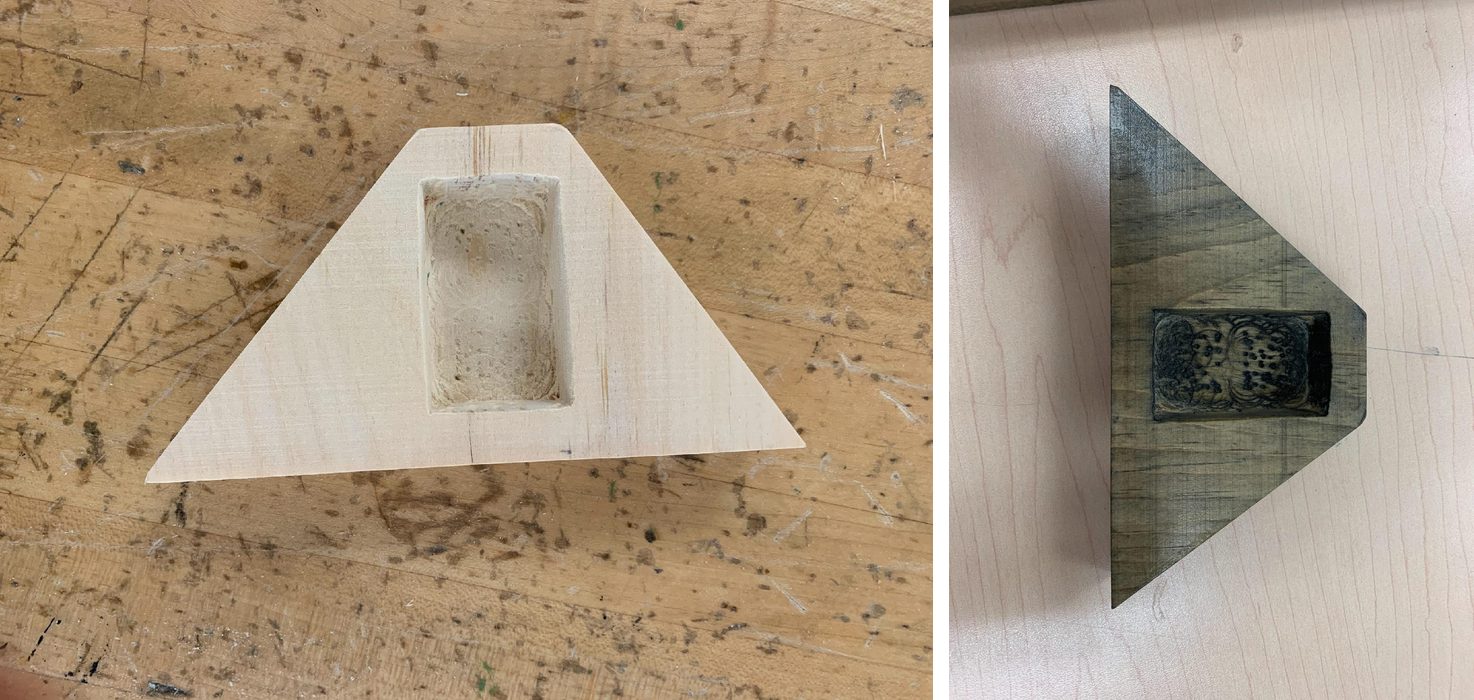
The pine frame was cut at 45° on the mitre saw, then sanded, stained and glued. The stand is a trapezoid cut on the band saw, with a drilled 17.5 × 48.5 mm cavity, about 19 mm deep, that holds the battery. Combining the stand and battery holder in one piece reduced material use.
Electronics
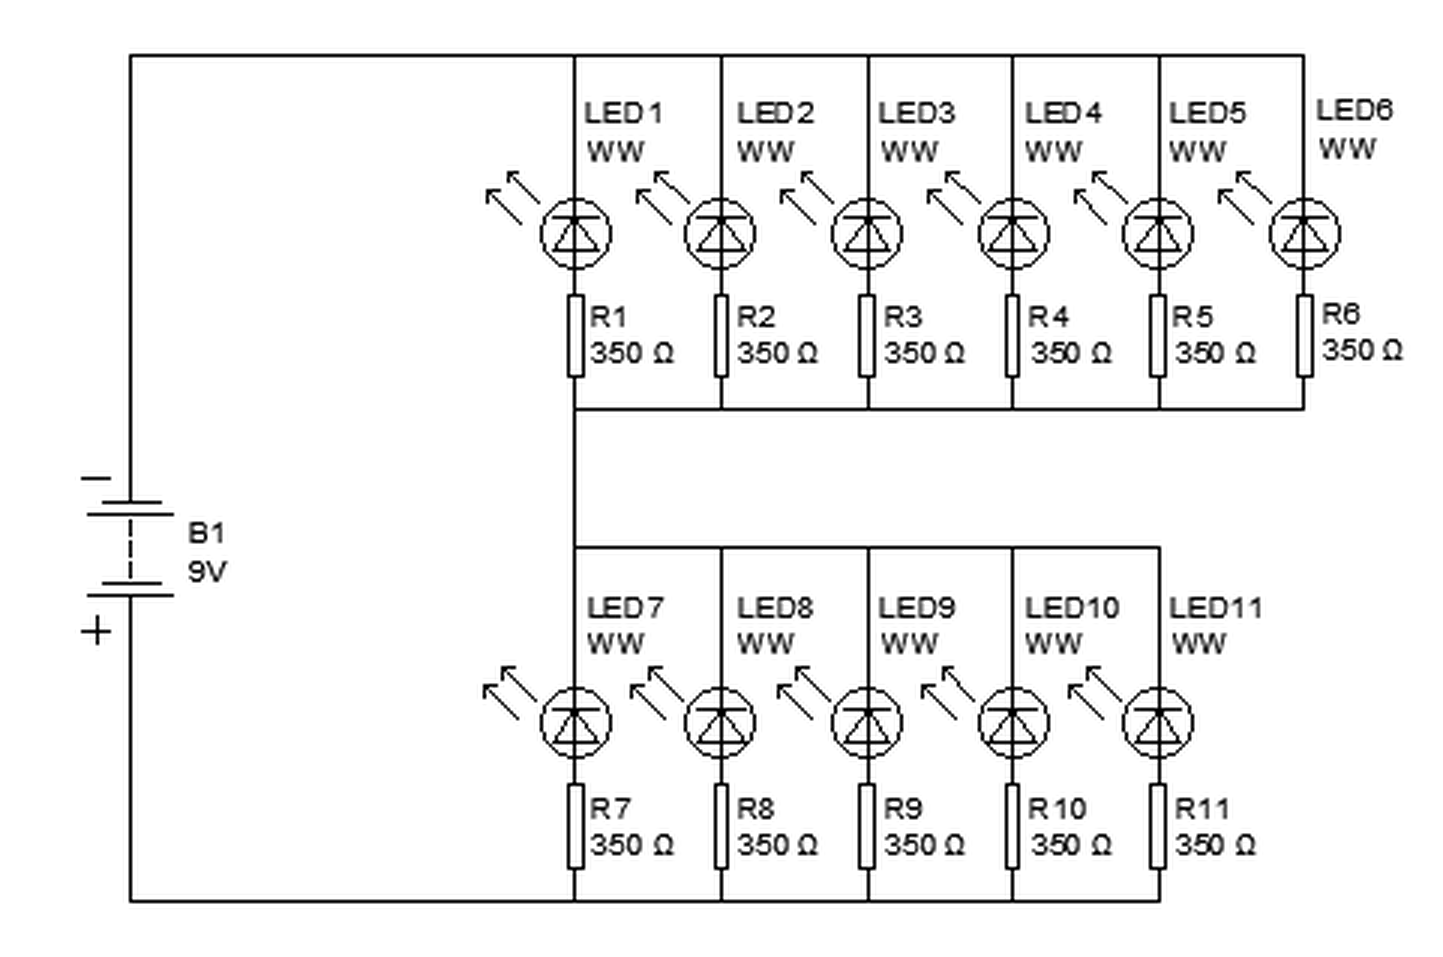
Two 4-inch warm-white LED strips were soldered to the battery, giving 11 LEDs with a 350 Ω resistor each, as shown in the AutoCAD circuit diagram.
Challenges
- The stain and gloss weakened the glue joints, so the faces were resanded and re-glued under ratchet straps.
- Oversized foam spacers were cut in half with a knife.
- The open back layer would have exposed the LED strips, so a blank masking layer was added before they were fitted.
Outcome
The finished light box stands on its own with the battery housed in the stand. A further version would add one or two layers for greater depth.